High Street Plaza
S179433
Monday to Friday
Evolution of Photocopier machine
Photocopier Machine- How It Works
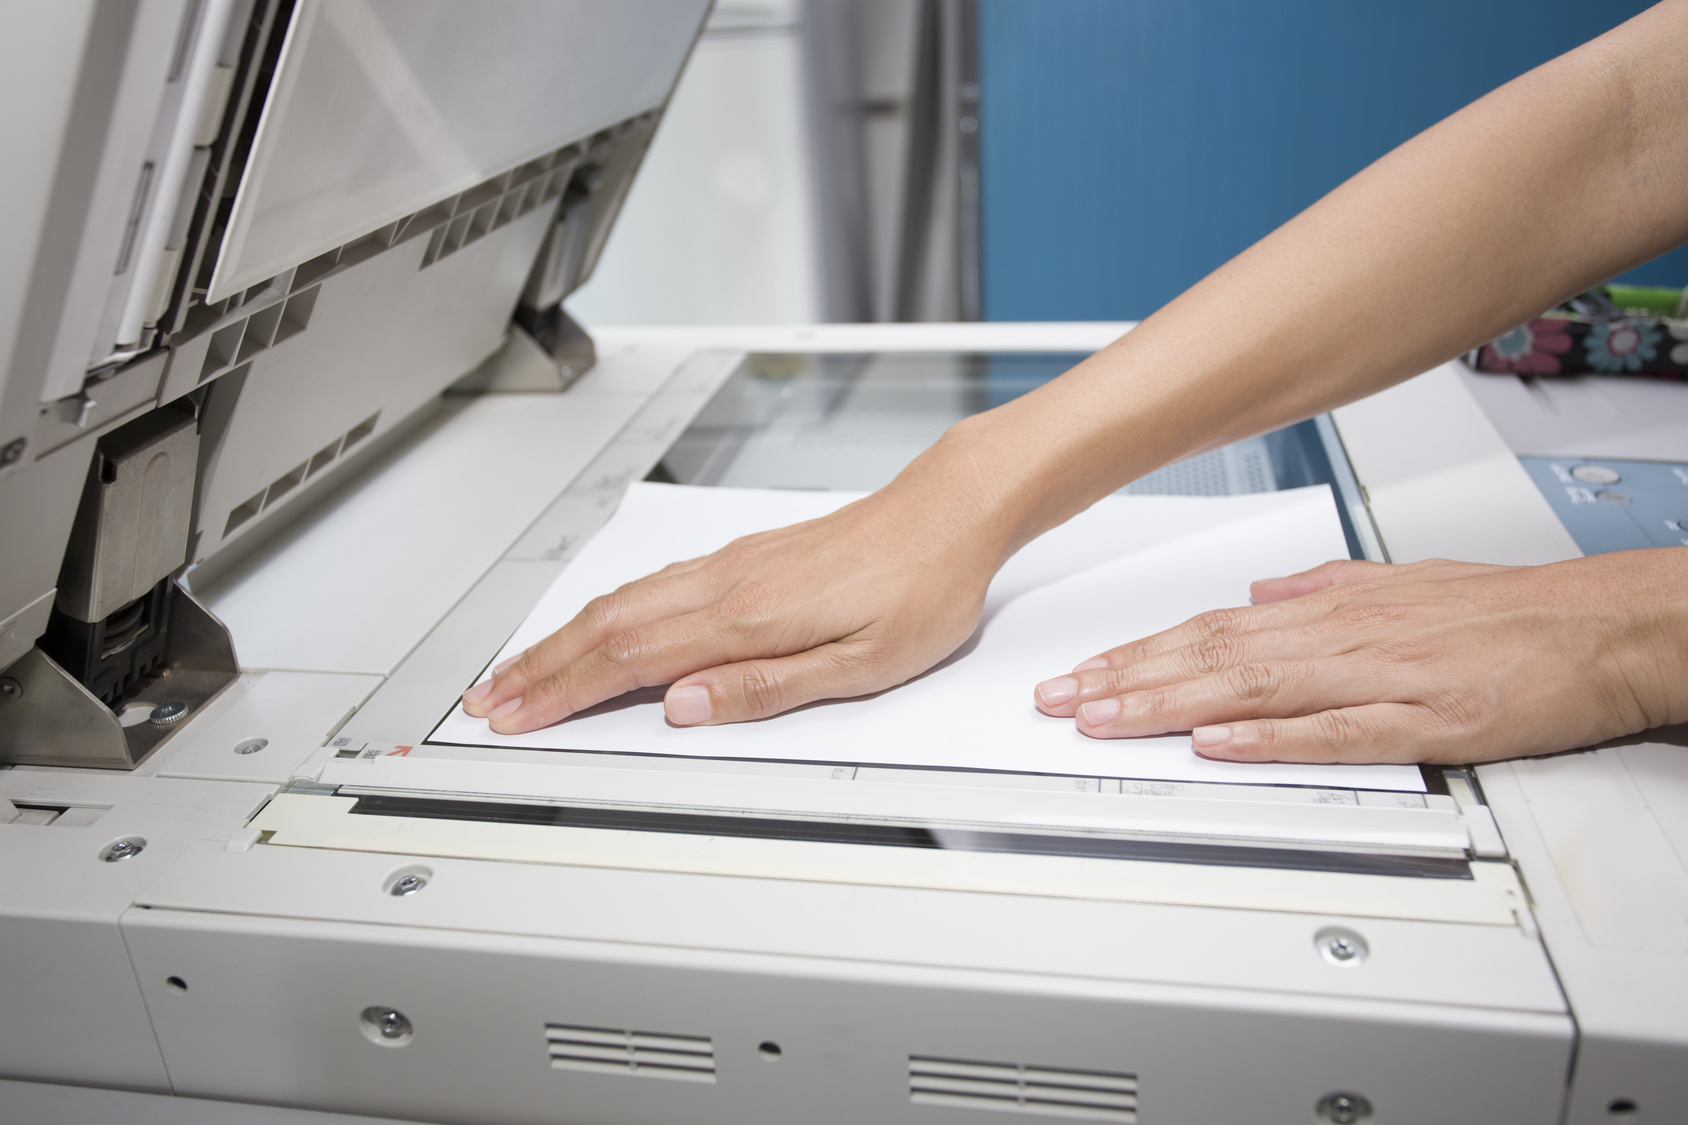
A photocopier machine, often called copier machine, has become a necessity of our lives. Be it offices, schools, homes, public institutions, universities, marketing and advertising firms, a fast, reliable and long lasting photocopier machine is an MUST-to-have device. But have you ever thought how was such a marvelous invention made? What is the technology working behind the printing of our lots of sheets every day? What are the basics components of the machines that ensure quality printing each time you turn on the device?
The Evolution of Technology
Photocopy machine makes our documents’ copies in a quick and economical way. As far as the technology is concerned, traditionally, most of the photocopier manufacturing brands were using xerography as the mainstream technology. This process is based on using electrostatic charges created on the light-sensitive photoreceptor for first attracting and then transferring toner to form an image on the paper. Through a pressure or heat, the toner is fused to the sheet of paper. You would find some copiers using other technologies like ink jet; however, xerography is still considered as a standard for professional copying.
Xerox was the company that launched Xerographic for the first time in 1959, almost 57 years ago from today. Its popularity made Photostat, Verifax, mimeograph machines, carbon paper and traditional duplicating machines obsolete. The earliest version was the Gestetner Stencil Duplicator, which was invented by David Gestetner in 1881. The start of the 2010s witnessed the high-end printers that are all in one, doing faxing, copying, scanning and printing. Today, most of the printers we use are all high-end machines that can both print and copy, both in monochrome and in color. The world’s leading brands like HP, Epson, Canon, and Brother, are all making 2 in 1 copier machines now, bringing ease and flexibility to home and office user.
Some of the major benefits of today’s multi-purpose photocopiers that made old copier technology obsolete lie in their features that:
• Use plain or untreated sheets of paper
• Execute two-sided (duplex) printing
• Scan as many pages as required on auto basis
• Sort the printed sheets
The incorporation of Digital Technology
Advance photocopiers of today are increasingly adopting digital technology, making old analog technology obsolete. Through digital copying technology, the copier now incorporates a laser/ink jet printer and a scanner. The brings a world of advantages including:
• Automatic enhancement of image quality
• Ability to carry out “build jobs”
Many digital copier machines have the ability to perform high-speed scanning, along with offering a feature to email the documents on an auto basis. In addition, automatic collation capability has also enabled printing of many documents at a time. For instance, if you want to copy 30 pages more than once, each page is scanned just for one time. The saved information is used to generate rest of the sets. There are low-end copiers that also use this technology, but these usually have a standard PC scanner linked to an inkjet or low-end laser printer, which are bit slower than high-end copiers.
11 stages of a photocopying process:
1. Photoelectric conversion
Upon placing a document on a document feeder or scanner, the light from the lamp fitted in the scanner unit is reflected via lens and mirrors to a CCD (Charged Couple Device) unit, where it is converted into an electrical signal. This stage is skipped if your data comes from your computer directly. In that case, you start from the third step.
2. Image processing
The electrical signal is converted into a digital signal, with enhancements and corrections made at the same time. These include all desired settings made by the user, for instance, brightness, reduction., enlargement, contrast etc.). If data is coming from the computer, it is then converted back to an analog signal.
3. Conversion of digital to analog
The digital signal is converted back to an electrical signal. This signal corresponds to the on and off timing of laser beam diode placed inside the Print Head. This beam produces the mirror image of to-be-printed or scanned document on the drum surface.
4. Photoconductive drum
This is the most crucial component of the photocopier. The drum is basically a hollow aluminum cylinder. It is wrapped with a light-sensitive material. In this drum, the electrostatic or invisible image of the document to be copied, is generated. It is to be noted that drum size differs as per photocopier model. Most of the high-end machines have a longer length and wider diameters as compared to lower-end ones. In the case of any damage on drum’s surface, the output is affected.
5. Drum Charging
In this stage, a uniform negative DC (Direct Current) charge is applied all through the drum length. This is done through a part called primary charge corona, which has a screen grid fixed above and near the drum. Different kinds of drum charging parts are used and differ from model to model. The drum charging stage produces ozone. To avoid ozone emission outside, special filters are fitted inside the copier.
6. Laser Beam Exposure
The laser beam that had been generated from digital to analog conversion, is projected into drum surface.
7. Image Generation
The drum rotates and comes into contact with the roller, which supplies toner. A visible image of copied document will form.
8. Paper feeding
Paper is fed into the machine from the source tray. This feeding must be straight to avoid jamming.
9. Image Transfer
The image on the drum is then shifted to paper surface fed from the trays.
10. Neutralizing, drum cleaning and toner recycling
Unused residual toner that is left on the drum surface after the development of image, is cleaned and scrapped off. This is done by a blade fitted with the drum. The cleaned drum is neutralized by LED light for removing any charges left and making it ready for next process.
11. Paper exit
The copied or printed paper comes out of the machine and is moved to the receiving tray. You’re done.
This process is indeed lengthy, but thanks to today’s high-end digital copiers that make it done in few seconds.
I hope you would have found this article helpful. Stay tuned to my blog for more information.
Comments (2)
furtdso linopv
23 Jun 2018 - 7:03 amHmm is anyone else experiencing problems with the images on this blog loading? I’m trying to determine if its a problem on my end or if it’s the blog. Any feedback would be greatly appreciated.
ORISEN Support
30 Oct 2018 - 11:31 amDear furtdso linopv, hope my message finds you well and thank you for the feedback. So far this this page seems okay would you try again if available? Cheers!